
After getting the posts trimmed, it was time for the drill press. We marked the center of each post at the top and bottom and used the chalk line to snap a line. The drill press only had a throw of 2 inches, so we used it to start the holes, then used the electric drill to finish.


On the two front posts, starting at 24 inches, we drilled 6 holes every 4 inches with the 1 1/4" bit. On the two middle posts, again starting at 24 inches, we also drilled 6 holes with the 1 1/4" bit. These holes are for the safety bar which goes through both posts.
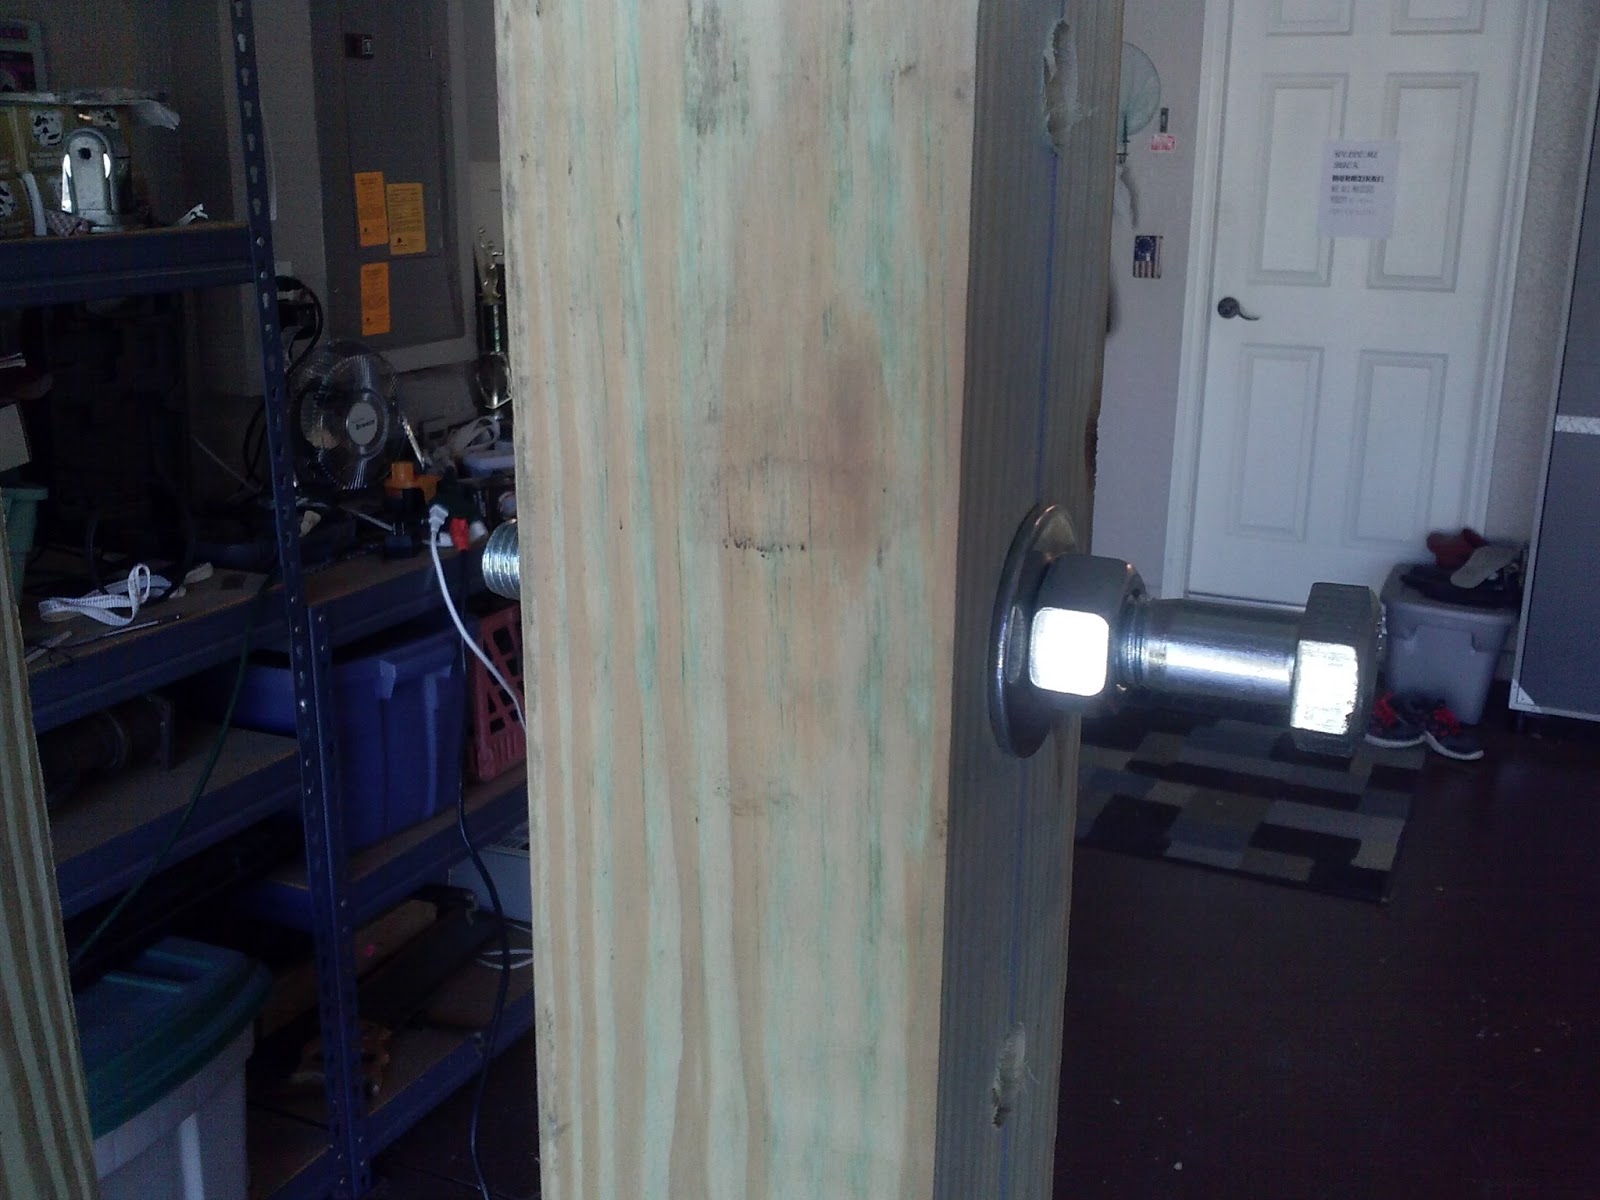
On the two middle posts we drilled 6 additional holes starting above the last hole (again every 4 inches) using a 7/8" bit. These holes are for the bolt to set the bar on. See the six smaller holes?

So, in total, that was 36 holes which took us almost 3 hours, mainly because of the not being able to go through all the way with the press.
After the front and middle posts were drilled, we fastened all three of the posts together with the 2" x " x 48" side braces. We laid it out on the floor, positioned the front and rear posts, measured 28 inched from the back of the front post to place the middle one, and marked it.


We used the level to make sure the posts were straight.

We fastened the bottom cross piece with the posts standing, them laid it down and fastened the top. We used five screws in an X pattern.


We laid them down and fasten on the rest of the cross pieces, one across the bottom back, one across the top back, and one more across the top in front of the middle post.


The end result!


Might look a bit uneven, but according to the level it's pretty close to true.
So there you go - a nice weekend project!
Why the extra set of uprights?
ReplyDeleteTo provide extra stabilization an uniform spacing away from the back wall. With the bar on, and Olympic size plates loaded, there's about 6 inches between the edge of the plate and the wall. Also, being against the wall make it more solid.
ReplyDeletehi there, just a question following up the above query regarding the extra set of uprights.... could you instead of using the extra set, fix 2 of the original 4 to wall, and use the front uprights to stack the bar and plates? So essentially, instead of looking outwards, you might be looking inwards....
ReplyDeleteBut then you couldn't lift (bench) inside the rack with the safety bars in place because you wouldn't be able to rack them on the back set of supports. Or, if you did lift inside for bench, it would be a reverse lift off.
ReplyDeleteHey it looks great! How has it been holding up? Does the bar dent it up at all or chip the edges?
ReplyDeleteStill going strong a little over three years later. We're still lifting 4x a week, and no problems at all. The only thing I ended up doing was replacing the bar, but that has nothing to do with the rack. The first bar was a pretty cheap one and had started to get some cracks in it, so I spent the money and got a nice Rogue. But that didn't have anything to do with the rack.....
Deletehow wide should i make this big beast
ReplyDeleteCheck the plans here: http://woodenpowerrack.blogspot.com/2013/01/the-plans.html
DeleteI made then 48 inches apart.
whats the distance between the two front uprights.. e.g the width
ReplyDeleteCheck the plans here: http://woodenpowerrack.blogspot.com/2013/01/the-plans.html
Delete48 inches